


3 ingredient viral air fryer chicken thighs
one of my most viral recipes to date

If you have been following me for some time you may already know this recipe. Ive shared it many times and it is definitely one of my most re-made recipe. The best part? Its so incredibly easy and that’s why I have never officially typed it out and made it official like this before. There is a few tips and tricks to get the perfect chicken thigh every time. And no - the pictures do NOT do justice for how juicy and crispy the chicken is.
tip 1: buy chicken thighs that look similar in size
This is a very underrated tip when it comes to buying chicken. If I have two chicken thighs that are huge and two that are extremely tiny they are going to have a bit different chicken thighs. So watch out for that when it comes to cooking these because no thigh is created equal but we can strive for the most equal thighs possible.
tip 2: trim excess skin on chicken thighs to ensure an even cook and avoid soggy chicken skin
You may not have to do this. Some chicken thighs I buy are basically wrapped in a piece of chicken skin and some just cover the one side which is how I like to cook mine. Look at your chicken and see how much excess skin and fat is along the sides and just trim it a bit along the edges. I promise you also it does not have to be perfect so do not stress this part PLEASE!
tip 3: start with the chicken in the air fryer skin side down and cook it majority of the time like this
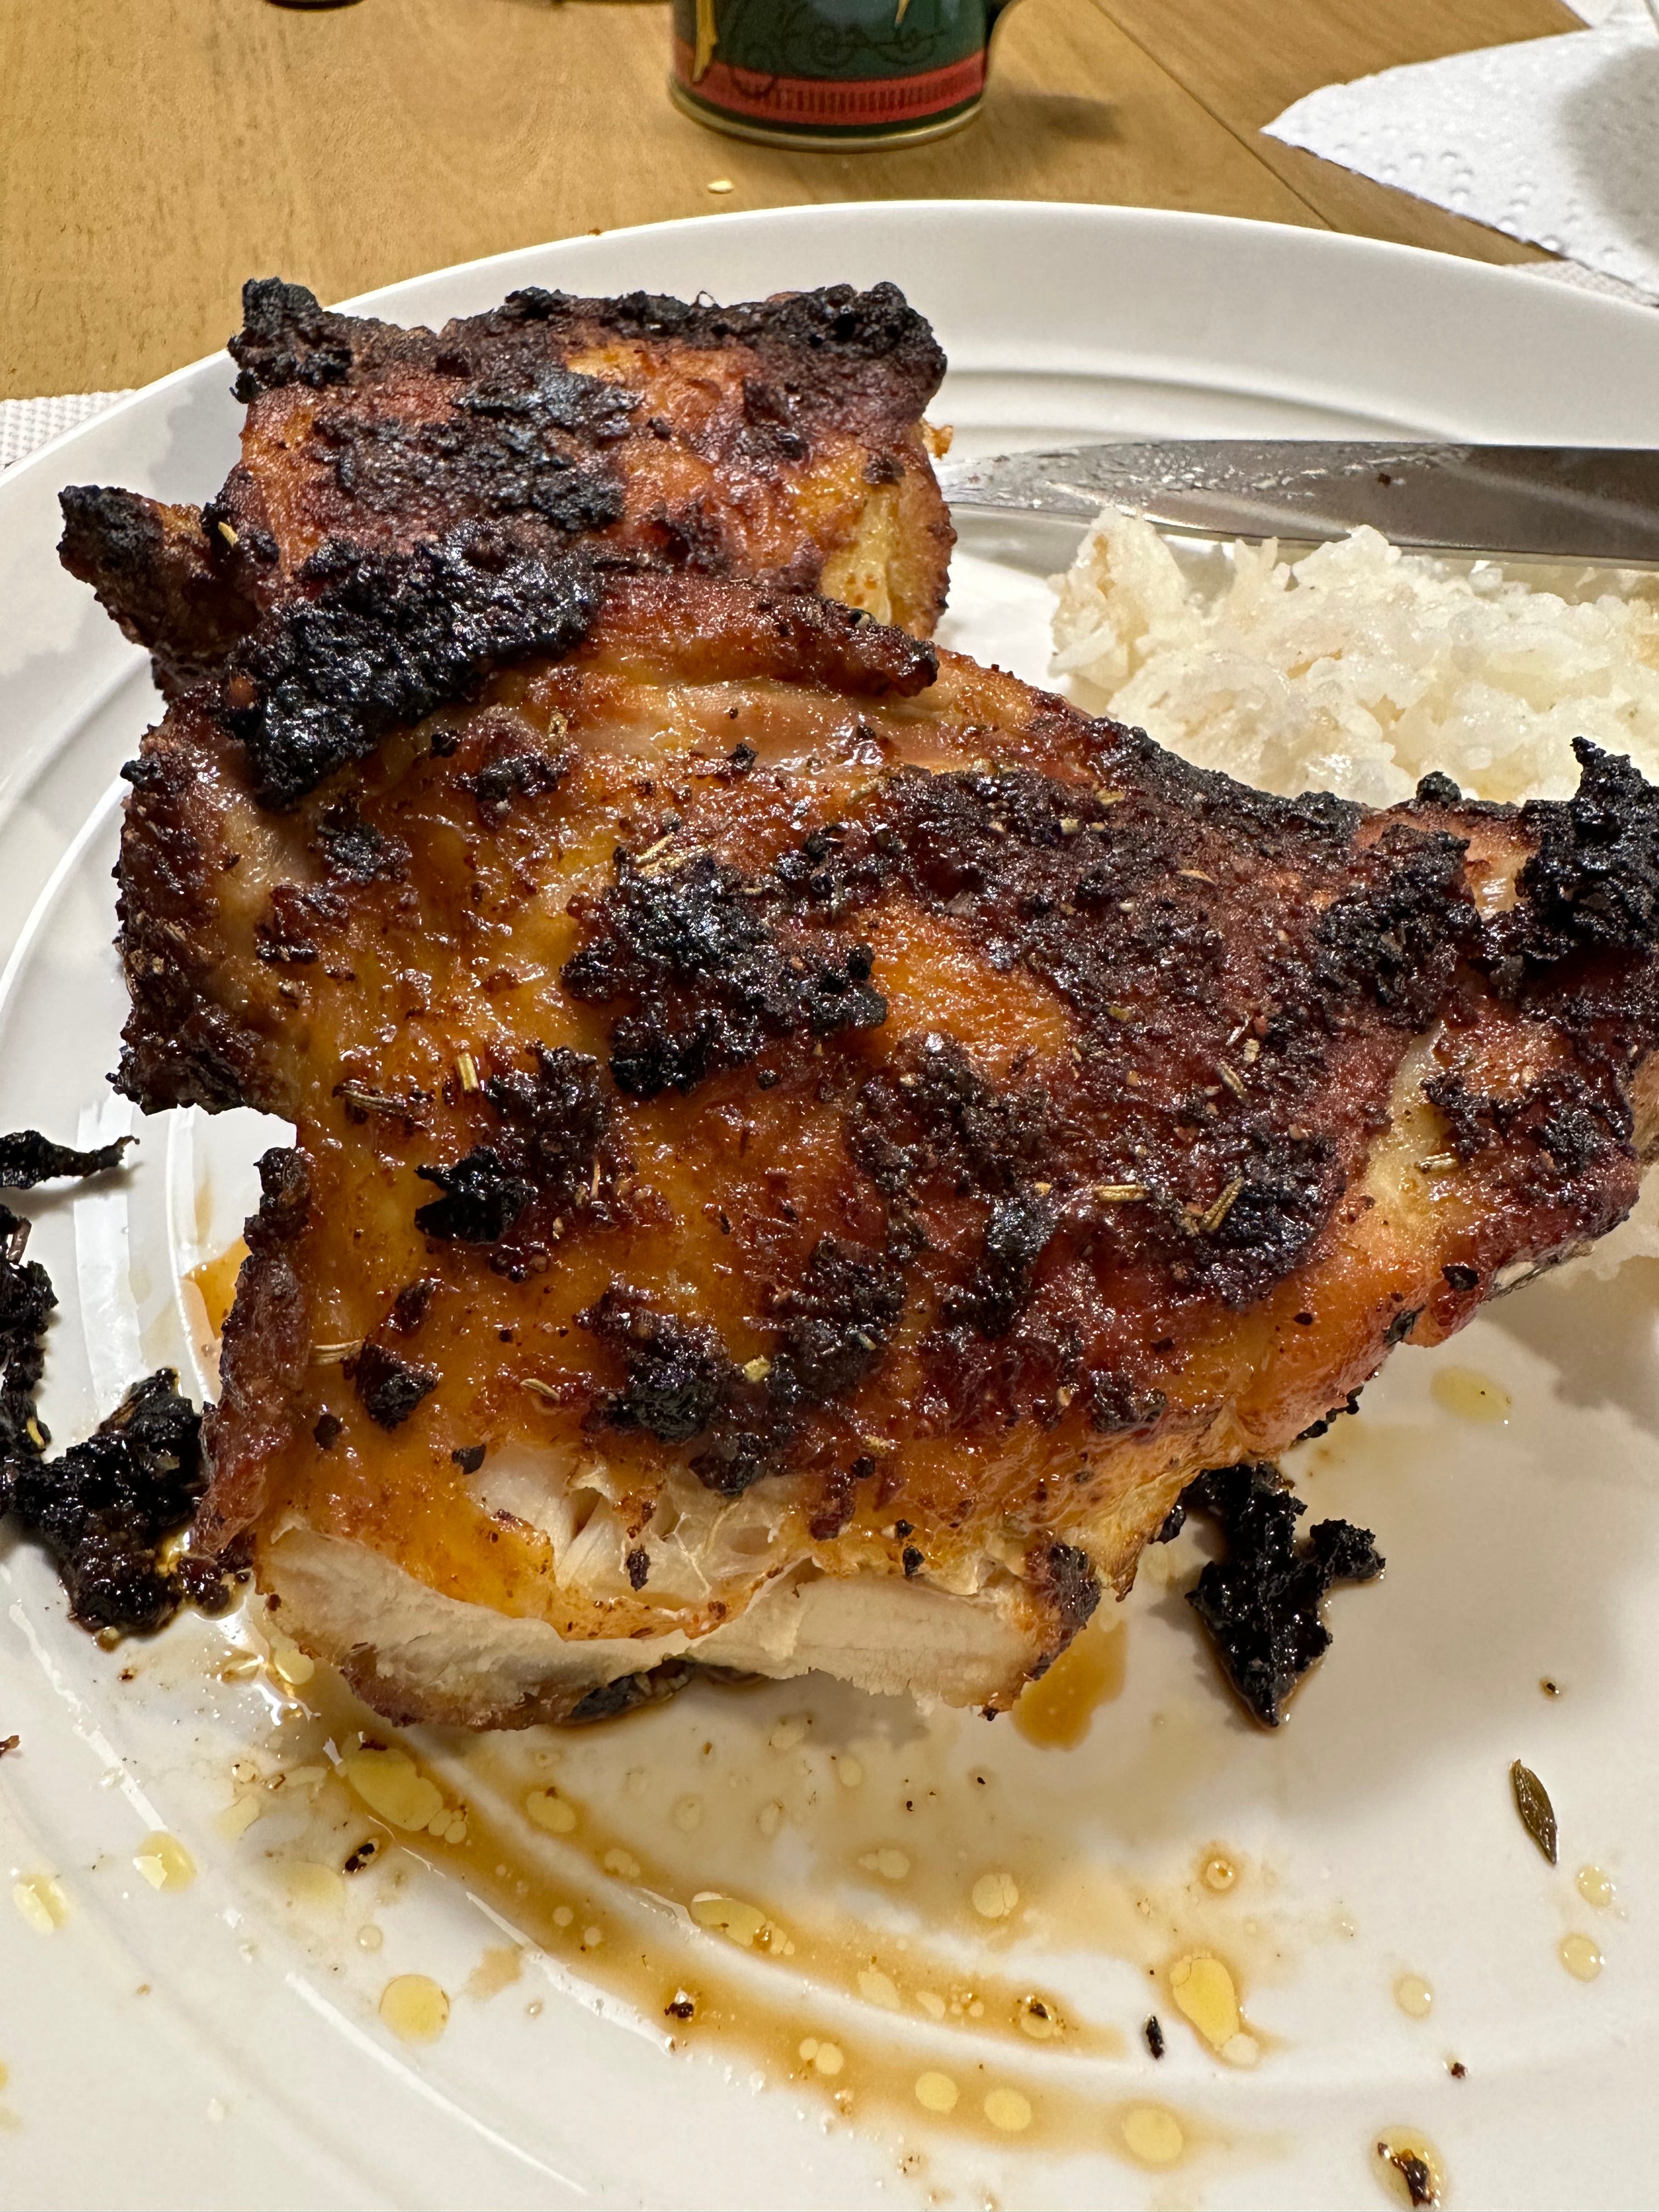
I have tried skin side up first and skin side down however to really render all of that fat in that chicken skin starting the chicken with the skin side down really is the best way. As the fat in the chicken skin renders (which basically means your melting out the fat in it) the chicken will cook in the rendered chicken fat. AKA YUM. When you go to flip the chicken the skin is going to look SOGGY and SCARY. Do not worry this is apart of the process. Season the skin one more time after flipping which is going to help the skin have a nice color on it as well as allow all of the added seasoning to stick on the skin better.
tip 4: try out different chicken seasonings
I love trying different chicken seasonings for this. I have used Dan Os, Kinders, Fire & Smoke, ect and I will link my 4 favorite seasonings I like to use for this recipe here.
Old Thomson Nashville hot chicken (Amazon)
Dan Os Chipotle seasoning (Amazon and Walmart)
Fire & Smoke Morning Buzz Hot Honey (Walmart)
Fire & Smoke Charred Chile & Lime (Walmart)
I love all of the Fire & Smoke brands but I encourage you to test out different chicken seasonings and find one you love! I normally use the same one for awhile and when I get sick of it switch. I love using pre made seasonings for ease and because sometimes I don’t want everything seasoned with garlic powder, paprika, onion powder ect.
Without further or do the recipe itself :
Keep reading with a 7-day free trial
Subscribe to the nourished newsletter to keep reading this post and get 7 days of free access to the full post archives.